Turn your photo into a street artist's. We are even going to apply some age to make it appear to have been around for awhile.
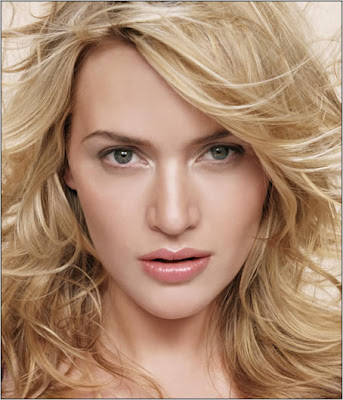
Using an image from Photospin.com as the subject for my art.

The
first thing I am going to do to this shot is remove the white
background. This can be done a lot of ways (extract and so forth): in
this instance I’m going to use the Background Eraser tool and wipe away
the white. My settings for this tool are seen in the following two
captures:


Since
the background and her clothes are white, I can effectively wipe away
all but the face, which is what I’m most concerned with. Using the other
eraser tools I can take away the remains of her clothing and body,
leaving just the head and neck

To
tell the truth I’m really not interested in her neck either, so I’ll
just select it with the Polygonal Lasso tool and delete that portion,
leaving only the face.


There…
that should do for now. Occasionally when converting images to art of
some type, certain features that you may wish were enhanced are
sacrificed for the effect. I’m concerned the eyes in this instance may
not be as prominent as I’d like when this is complete, so I’m going to
increase the size with Liquify>Bloat tool to see if it helps in
the end.


I
think that will do. Ok, not we can run it through the process of
converting this to a really bad artist rendering. Yes, there is hope for
those of us who draw poorly to make a splash in the artistic world… so
long as you have Photoshop. Ok, let’s run the Artistic>Cutout
filter. Here are my settings:


At
this point you can retain the color if you so choose, but for this
technique I’m going to wipe it away. I’m looking for a stark
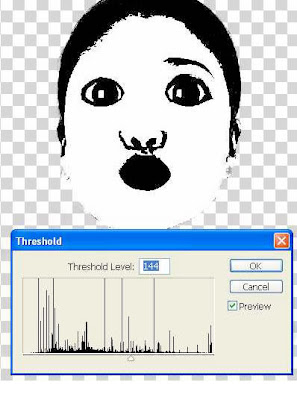
Black/White, and Image>Adjustments>Threshold will do
nicely.

The
last thing I’m going to do with this photo is select the Black.
Select>Color Range will work for this. Then simply copy the
selecting.

Time
to change gears: we need somewhere to put the paint. Again, I’ve
selected an image of a wall that has already seen some artist’s
attention for my canvas:

Now
I’ll paste the copied area from the first photo into the new image. It
was a bit large, so I’ve downscaled it with the Transform tools so the
new face will fit on the bricks above the other painting.

Using
either Transform>Distort or Transform>Perspective, I can
make the face appear to match the perspective of the wall.

So
how do we blend this stark black paint to the bricks? You guessed it:
Blending mode change. Set the Blending mode for this layer to Soft
Light.


That
does a pretty fair job of staining the bricks with the face, but we can
do better than that. With Blend If we can wipe the paint away from some
of the bricks and the cracks, giving the appearance that the painting
has suffered some weathering. This is one of those added touches that
can really make an effect, and it is fairly simple to do.
Open
the Layer Styles for the face layer and go to Blending Options. We are
concerned with the Blend If portion at the bottom center area of the
dialog box. As we know that the bricks beneath have varying degrees of
red, we can selectively wipe away some of the paint by selecting Blend
If: Red in the drop down menu and then moving the Right slider beneath
the Underlying Layer bar to the left. Take a look at my settings below.
As you move the slider watch the image and see the paint erode… too cool.


You’ll
note that the paint is still in the cracks covering the mortar also.
Again, manipulating Blend If can wipe this paint away so that the paint
remains only on the surface of the bricks. By selecting Blend If: Gray
and moving the left slider beneath Underlying Layer to the center, the
paint in the cracks will also disappear.


