Create a new layer.
Select the Type Mask tool. Choose a thick font at least 160 pts in size.

Type your selection on the new layer and fill it with Black.
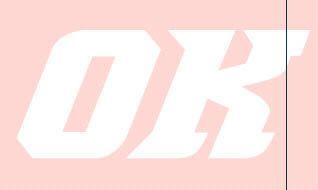
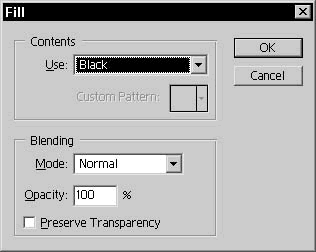
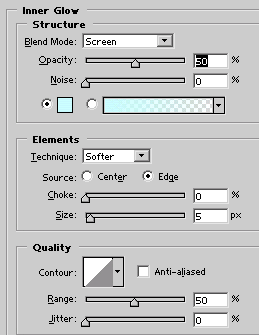
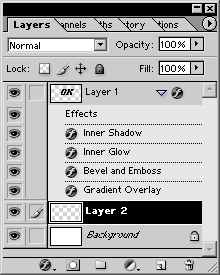
Open the Layer Styles for the filled type layer. First, select Inner Glow and apply the following settings:
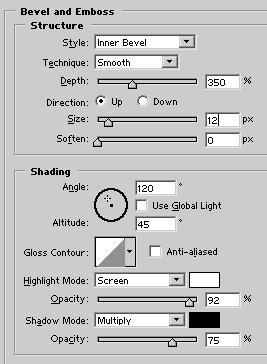
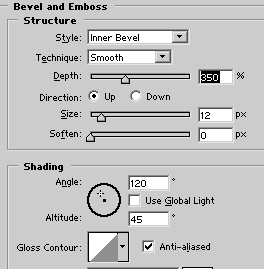
Now select Bevel and Emboss with the following settings:
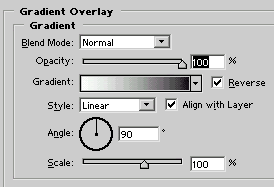
Gradient Overlay:
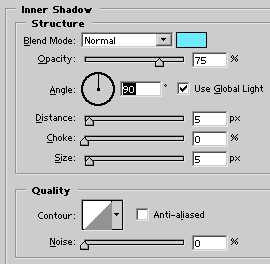
Inner Shadow:
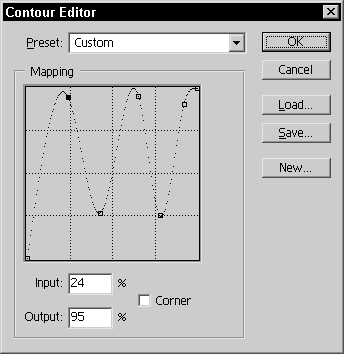
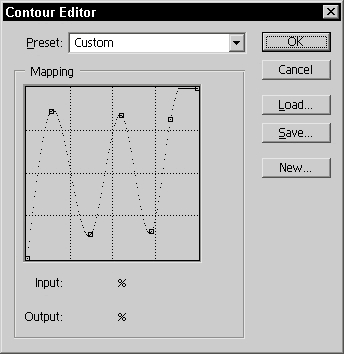
Go back to Bevel and Emboss. Click on the Contour window and create a contour like the one seen below.
Click OK.

Create a new layer beneath the type layer. Select the Type layer and hit Cmd/CTRL+E to merge it with the new layer.
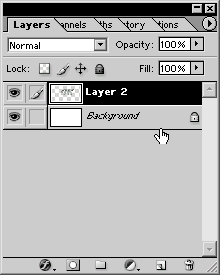
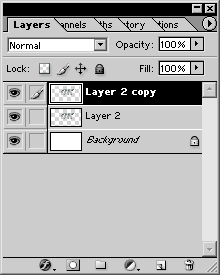
Duplicate the merged layer.
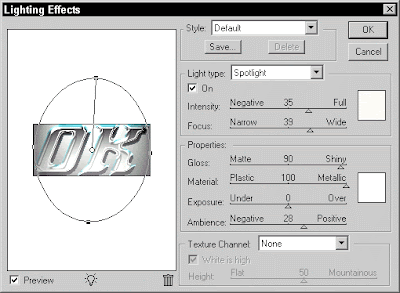
Go to Filter>Render>Lighting Effects. Apply the following settings and click OK.
Set the duplicate text layer to overlay.
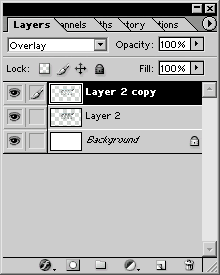

Select Filter>Artistic>Plastic Wrap. Enter the following settings in the Plastic Wrap dialog box and click OK.
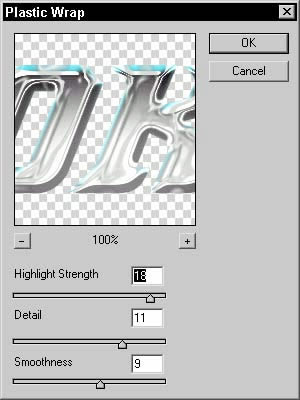
Deselect the selection.

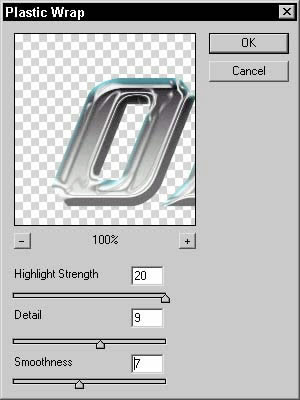
Select the original text layer. Apply the plastic wrap to this layer with the following settings and click OK.

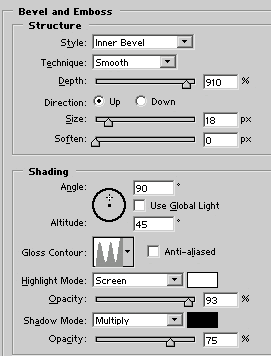
Select the duplicate text layer. Open the layer styles for this layer. Select Bevel and Emboss with the following settings. Change the Contour to that seen below as well.

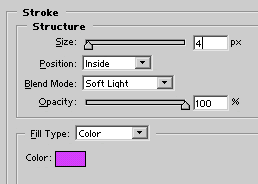
Select Stroke. Enter the following settings:
Click OK.

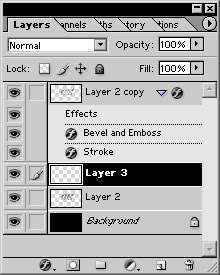
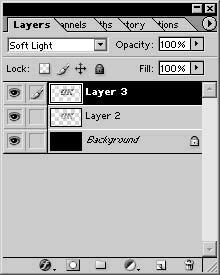
Create a new layer above the type layer and below the duplicate type layer. Select the duplicate, hit Cmd/CTRL+E and merge it with the new layer.


Thanks friend, for great article and for make it easy, step-by-step. Keep up the good work like this !
ReplyDeleteclipping path service provider
good information.Gorgeous this web page will be famous amid all blogging users, due to it’s fastidious content and article.
ReplyDeleteIt is a very nice post. thanks for sharing!
clipping path service provider
https://www.clippingpathexclusive.com/
Great tutorials. Thanks for sharing this post.
ReplyDeleteclipping path service